
Scroll down for updated photos and info on my next round of testing which are in blue and gold like this.
There has been a lot of discussion and news around noise reduction and/or sharpening plug-in software for Adobe products. So much so that it got my attention, too. At first it looked too good to be true, but a little investigation and testing proved it isn’t. There are programs out there that can make an acceptable shot into an excellent one.
If you’ve been following this for a while, you know my brief dally with Luminar products and how I rely on Lightroom as my database and asset manager. So any additional software is going to have to work well with that as a plug-in. That’s one reason DXO isn’t in this comparison. At the time I investigated it worked as a stand alone and you needed to run your raw files through it first then into Lightroom. Also it seemed that there was a lens-correction feature baked into it that was problematic for some users. So I elected to avoid it for now.
A few words about digital noise before we get started. Noise is just that – it’s not signal. As in signal-to-noise ratio. Noise is basically the combination of the type of sensor and the process of creating a digital image. On all shots. Every time you click the shutter. The level is always the same. The noise part of the image is the camera’s computer trying to fill in blanks by creating luminosity and color on the fly. Changing your ISO setting to something more light ‘sensitive’ is really a misnomer. Your sensor isn’t magically more sensitive to light at 5000 compared to 500, but it does make that background noise more apparent. What you want to do is overwhelm the noise with signal – create a signal-to-noise ratio in signal’s favor. That means correct exposure or at least exposing as far to the right on the histogram as possible. The noise gets drowned out. The best way to reduce noise in your photos is to not introduce it to begin with.
It doesn’t automatically follow that all high ISO photos will be too noisy to be usable. With proper exposure, high ISO photos can look reasonably clean. Underexposing is the culprit most of the time. At any ISO. The reason high ISO shots look noisier in general is because we’re usually trying to catch something moving and need high shutter speeds to do it or need that shutter speed to hand hold. Even with lenses as wide open as possible, it usually doesn’t result in overwhelming light (signal) to drown out the noise. It’s not enough, but if you expose to the right as much as you can, you will mitigate some of it. Also turn on your camera’s noise reduction function. Every little bit helps.
We can’t always overwhelm all of it and so end up with noisy photos. Thus the reason a lot of software companies exist. Why Adobe can’t achieve results like this in their native applications is a mystery and a subject for another post. This one is about my experiment with different methods of reducing noise and improving sharpness and detail. I’ve chosen a good photo of a hummingbird because who doesn’t love hummingbirds?
For comparison I used each app and process to achieve the best result for the photo possible. A lot of the time I just left it on auto settings. Other times I used my best judgement.
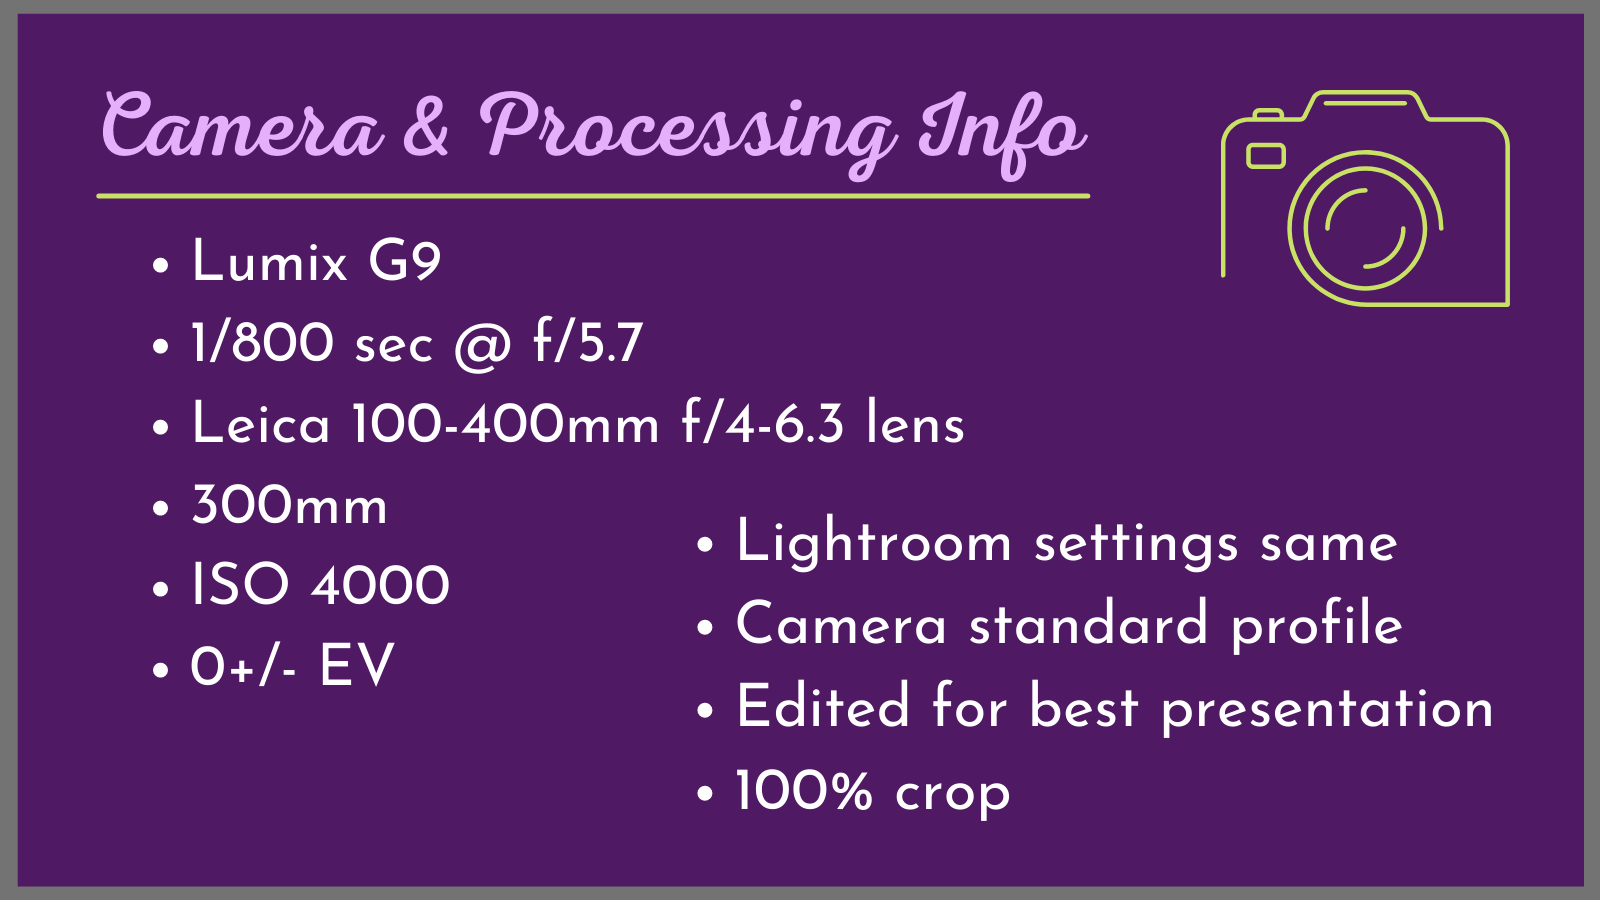
Original shot
Sure it’s noisy, but it isn’t horrendously so. There is still good detail there and the colors are uniform without banding. You need to start with something like this for best results. The underlying Artificial Intelligence of many programs is excellent, but it has limits. Starting with enough data is key. I think this is a reasonable shot as it is, but it gets better.

Until recently Lightroom was the only way I had to add sharpness and reduce noise and it isn’t horrible, but the fact that I don’t have as much control over either process leaves a lot to be desired. The biggest hurdle is that noise reduction cannot be applied locally with as much of an effect as it does globally. Yes, I’ve used the brush to apply both, but it’s a finer, more subtle effect. It can work, but I think using the global sliders is more common and that’s what I’ve used in this first shot. There is still some noise in the background and the bird suffers for loss of detail. This is the best compromise I could come up with –
Lightroom Classic Version 10.3

The method I used with Photoshop involves layers – the bottom layer I open in Camera Raw and apply a lot of noise reduction – to the point where I’m losing detail in the bird. On the top layer I apply Smart Sharpen with some noise reduction to the bird only by masking the background out. There is better detail and overall sharpness, but more artifacts in the background than Lightroom produced.
Photoshop v22.4.3

When I first became interested in adding a NR/SH plug-in to my workflow, ON1 was announcing their product NoNoise so I waited until it became available to evaluate. At first I was impressed and almost pulled the trigger on it, but ultimately didn’t. First why I liked it – because it does NR and Sharpening in one application. I don’t know why Topaz splits the two functions since they are intrinsically linked (money grab?), but I was happy that ON1 recognized they work together. I was also happy that NoNoise uses RAW files via DNG conversion rather than a TIFF or other file type. Overall sharpness is good though. Then I started to get weird pink smears and squares in my finished images. It happened often enough that I didn’t want to commit. It also leaves some halos and crispy edges behind that I don’t like. Check out the flower below –
ON1 NoNoise v1.0

ON1 No Noise 2024 (Different Lr edit)

Update 2024 – I am still plugging along with my original, standalone versions of the Topaz products having been unable to bring myself to “upgrade” to Photo AI for complicated reasons. They still work decently, but after a recent conversation about noise reduction I decided to test ON1’s No Noise again and I have to say it looks better than it did the first time. I start with the auto settings and then tweak as needed, usually pulling back on the NR and increasing the details as it suits the image. Using the RAW file produced better results than exporting a TIFF. So I use the Show in Finder function in Lr and then open in the app separately. I save out of No Noise as a DNG and then Synchronize the folder in Lr. Can’t say I’ll do this with every image and sometimes the Denoise AI function in Lr will be good enough, but I like having options.
Probably the biggest player in this field is Topaz Labs. They’ve been around for a while and are used widely and for good reasons – the stuff works and it’s reasonably controllable by the use of masks to isolate where you want the effect to be applied and by using different algorithms to address noise or blurriness. So I have been playing with them independently and together.
First here is just noise reduction and it looks good. The background is smoother and the detail in the feathers finer. Also no halos or edge crispiness.
Topaz DeNoise AI Only Version 3.1

Next is using both – first NR and then sharpening. This seems to be the consensus for workflow and so that’s what I went with. I REALLY wish there was a way to hand the TIFF between apps without having to go back into Lightroom, but there isn’t so you’re going to have two files created – one per program. If I remember my process I left the sharpening effect in DeNoise at the default or auto setting. In Sharpen I masked everything out except the bird because the flowers were REALLY crispy and odd looking when applied globally. The result is too much and over-sharpened. It’s possible by tweaking the sharpening aspect of DeNoise and/or Sharpen, this can be reduced, but on this pass it was bad. Look at the upper part of the wings – they just look noisy.
Topaz DeNoise & Sharpen AI v3.1

So with that in mind, I just used the sharpen app on its own. I used the Very Noisy setting and it works pretty well with more natural detail and noise gone. It doesn’t work this well on every photo, so I don’t think I can just use Sharpen every time, but for subjects starkly standing out from uncomplicated backgrounds, it works nicely and in one go. In future I’ll probably mask out things like that lower flower – the app tried to sharpen it and it just looks strange.
Topaz Sharpen AI v3.1

This was just a quick comparison, I’m sure you can find deeper dives done by other photographers if you want more granular info comparing different modes of noise reduction or sharpening with Topaz or with some of the Layers functions in ON1 NoNoise.
Final image – Topaz Sharpen only

To my eye the last photo gave me the best results – noise vanquished, sharpness improved and a more natural overall appearance was achieved. I won’t need this for every photo, but it does make this good shot a better one. Which one do you like best?
Bonus, bonus – Lr denoise AI April 2023

Update – in April 2023 Adobe updated Lightroom to v. 12.3 and included an AI noise reduction tool that when run only gives you a strength slider, but does produce a new DNG file that can be stacked with your original RAW file. In its initial version it’s only going to work on RAW files, but oh does it work. The photo above is at about 70% strength with sharpening applied after the fact. It is really good! Since I purchased the stand alone versions of Topaz Sharpen and Denoise I’ll keep those, but I don’t think I’ll need them as much.
Bonus round!
Since I am continuously using Topaz Sharpen & DeNoise, I thought I’d put up a couple more examples. Another comparison using both apps and just Sharpen. Sometimes using both just makes things too crunchy. Granted, I used Auto on both images so maybe if I finessed it some the results would be more pleasing. Same camera & lens combination at ISO 4000.
Sharpen only v3.1

DeNoise & Sharpen v3.1

I also have to do some edge clean up in Photoshop because Topaz started the noise reduction a few pixels from the hummingbird itself. The Healing Brush took care of it, but it was noticeable. Another reason that processing this time-consuming you may want to save for really important images or ones you’re going to print large.
And here she is in the final shot –

At the time this goes live, both ON1 and Topaz have released new versions of their respective software. I haven’t bothered with ON1 since I bought Topaz, but am happy that Topaz has improved the masking functionality. It was pretty weak and difficult to use because it didn’t behave like masking does in Photoshop; that is to be quick, precise and easily changed. It’s especially important when you have a busier background and don’t want to make it worse by trying to sharpen it. Maybe as I use it more I’ll do a follow-on post about masking, but that’s it for now. Maybe someday Adobe won’t force us to go to outside vendors to make our photos the best they can be.

Leave a comment