
By now you know I’m not an early-adopter when it comes to photo gear or techniques so it won’t shock you to learn I’ve only started using photo stacking recently. Mainly it’s because I think of it as a macro technique and I’ve always used a manual macro lens. Yes, I know it can be applied to more than that – from macro to landscape, but I frame it in my mind as a macro thing and that’s how I’ve been using it since I acquired my system macro lens a while back. It’s a pretty steep learning curve in some aspects so I thought it would be a good idea to put some of the things I’ve discovered into a post or two. Call it lessons learned and best practices.
I’m approaching this specifically from using the Lumix G9 so bear that in mind if your camera doesn’t have a particular feature, has something different or uses different terminology for the same things. Also, I’m not talking about the 4 or 6K post-focus feature that does the image merging in camera – this is all about using focus bracketing with dedicated stacking software. I use Zerene and am happy enough that I am not interested in looking elsewhere. So far as I’ve done any investigation, other dedicated stackers like Helicon Focus work in a similar way and produce similar results. Photoshop can do image stacking or merging, but it seems to be slow and limited so I’m not using Ps except for post-stacking work.
So starting with field techniques and practices –
Bring a magnifying glass and some tweezers.
My subjects tend to be very small indeed and it isn’t always easy to tell what’s the nearest bit to the lens. That’s critical when it comes to focus bracketing (see below) and just one tiny bit out of focus can ruin the whole effect. And because things are tiny, your fingers are mostly too big to do some clean up or rearranging of details. It’s better to remove distractions before you shoot rather than try to clone them away in post. Oh and while I’m on the subject, make sure your lens and filters are spotless. I just had to do a TON of clean up in Photoshop that wouldn’t have been necessary if I’d just checked first.

Watch your backgrounds.
This applies to any macro photo, but can be especially important with stacking. Depending on your method and number of images, you can get a lot in the background in focus that you might not want. There are ways to eliminate distractions with retouching, but that’s fiddly and time consuming. It’s much easier to get a clean background before you start the photo sequence. Well mostly. If you can’t, the aperture you shoot with can help. More on that later.
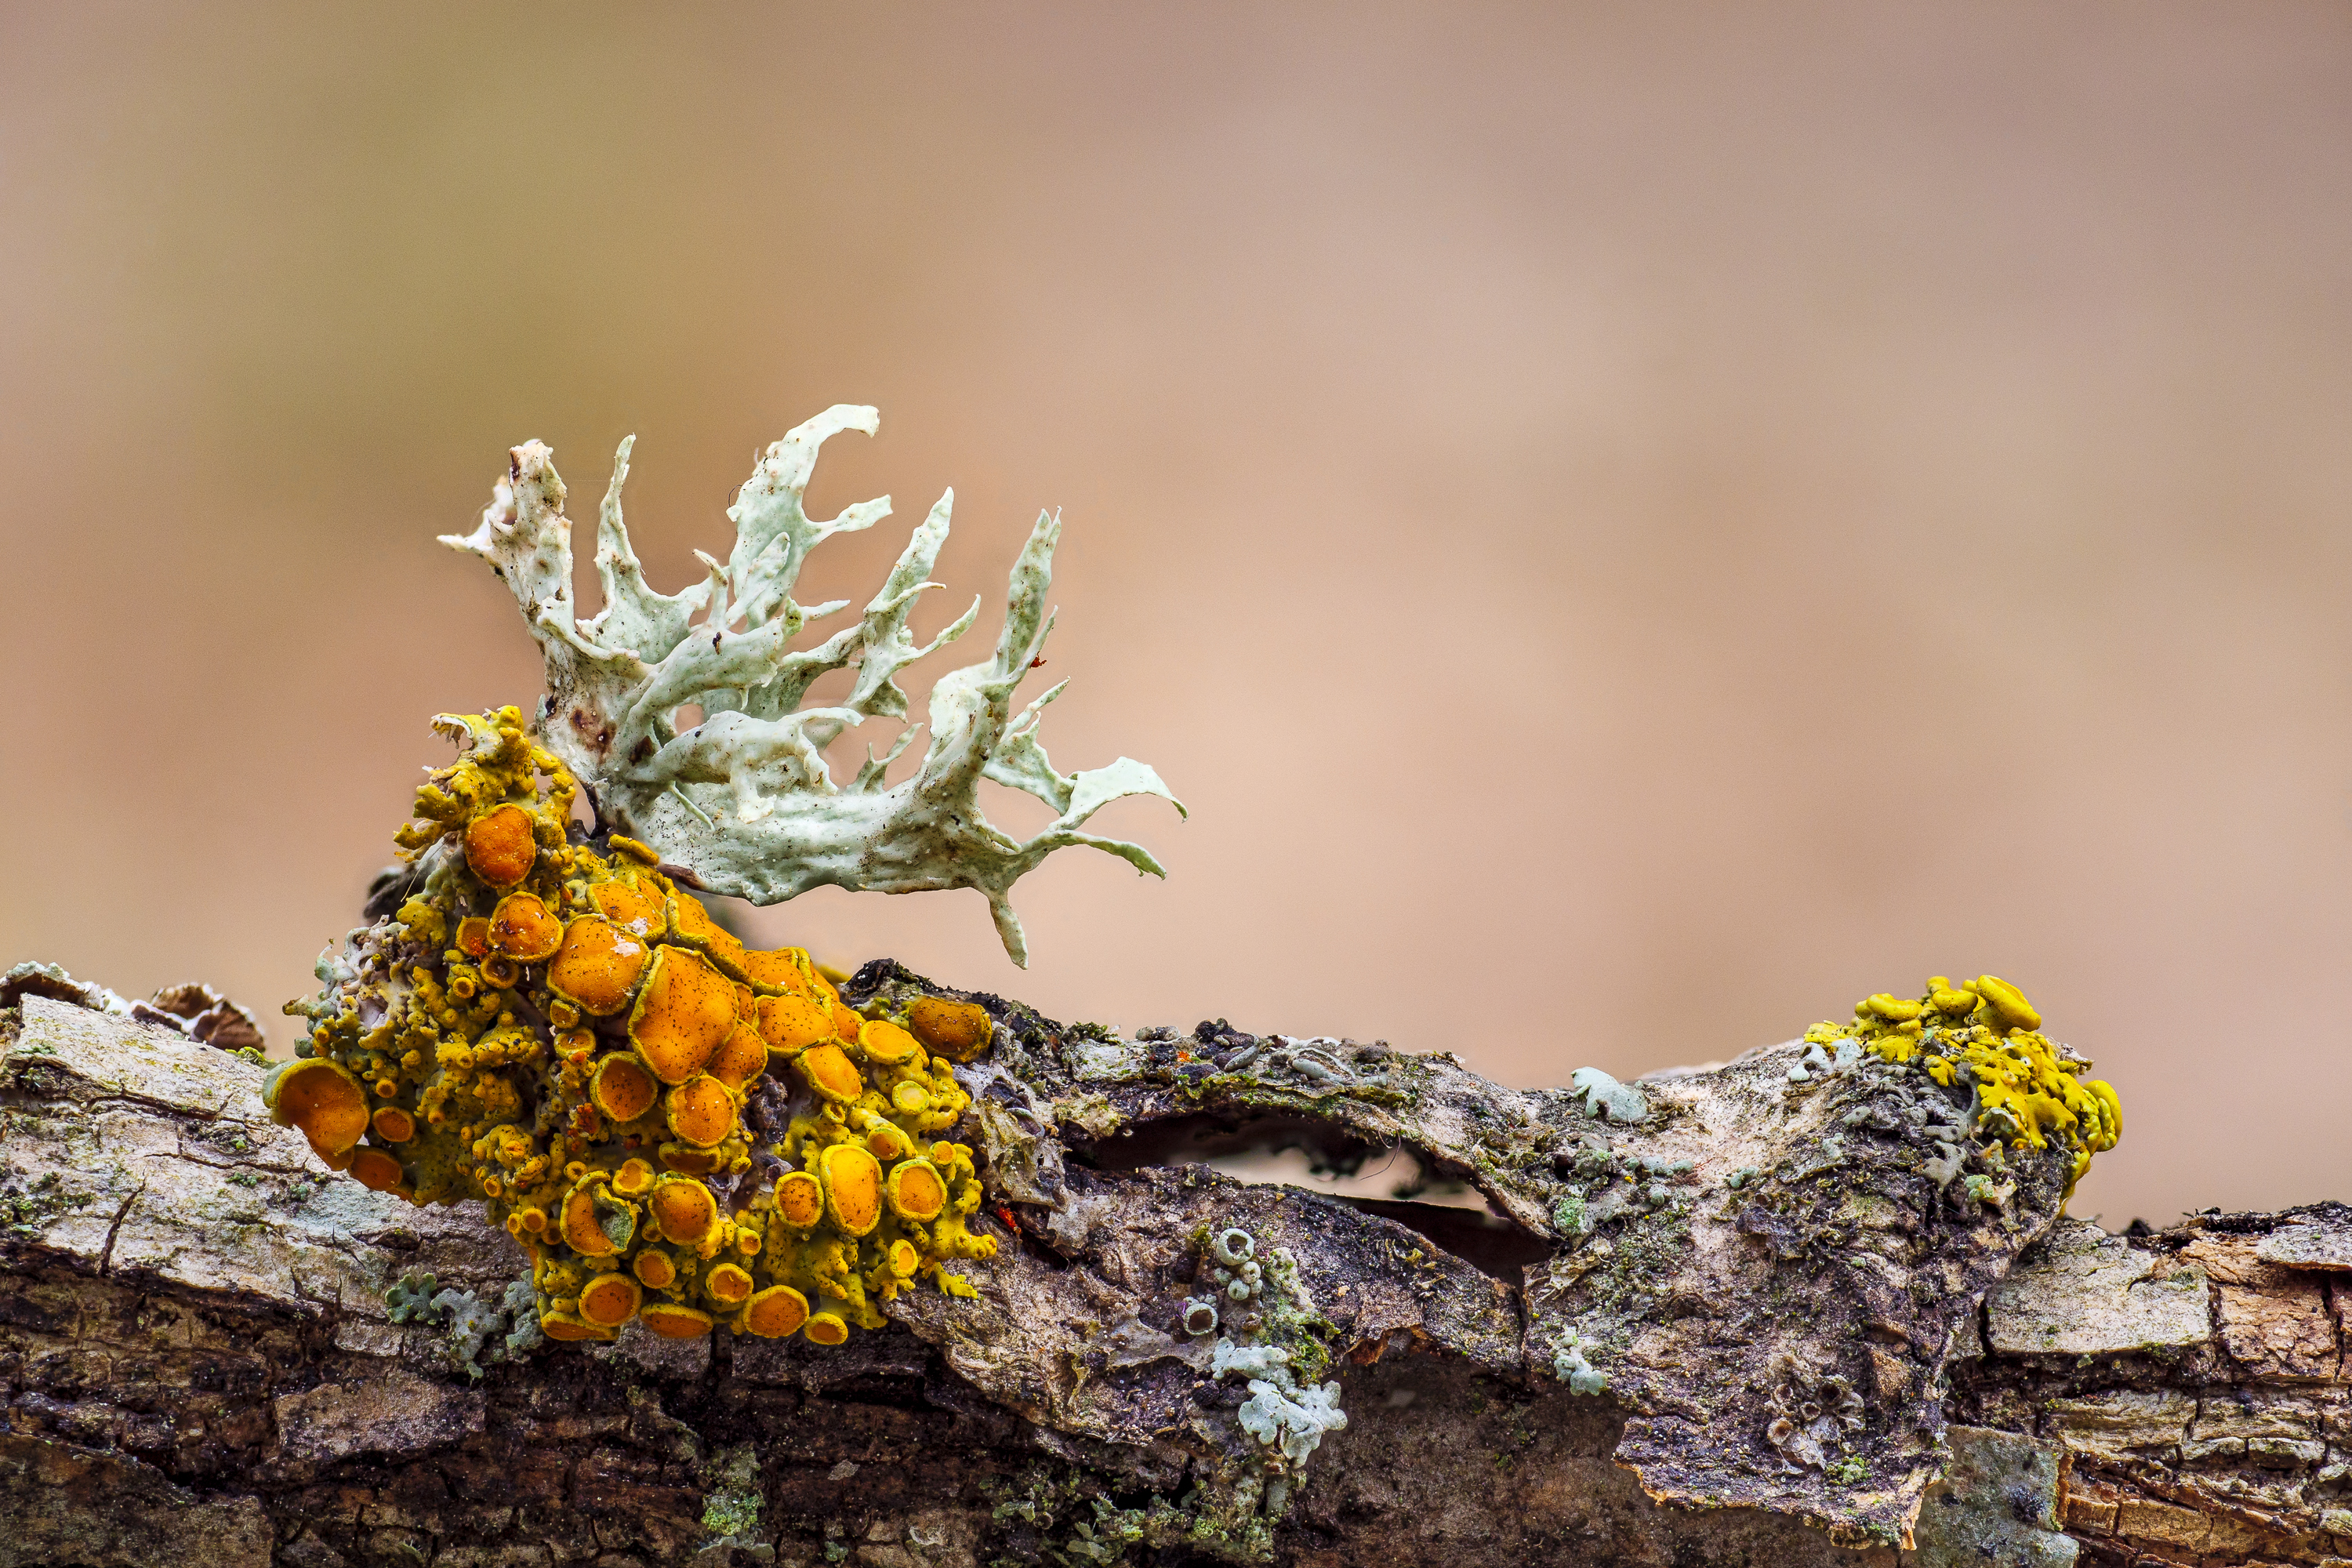
Keep in mind that if your subject isn’t rooted or otherwise fixed, feel free to move it. I’ve done that with some bits of lichen that were loose and it worked better than leaving them in situ.


Watch the wind and the light for change.
Even though stacking software can align images that may be slightly different from frame to frame, it isn’t perfect and why introduce problems that can be avoided? So try working on calm days or quickly between gusts. If you have to split the times you take the images into multiple sessions, do that and note the last focus point to start with it on your next capture sequence. In addition, watch the light. If it’s changed anywhere in the photos you will stack it will look odd and cause a lot of headaches trying to get the shots processed the same. Stick to shade, overcast or cloudy days or use a diffuser to make your own shade.
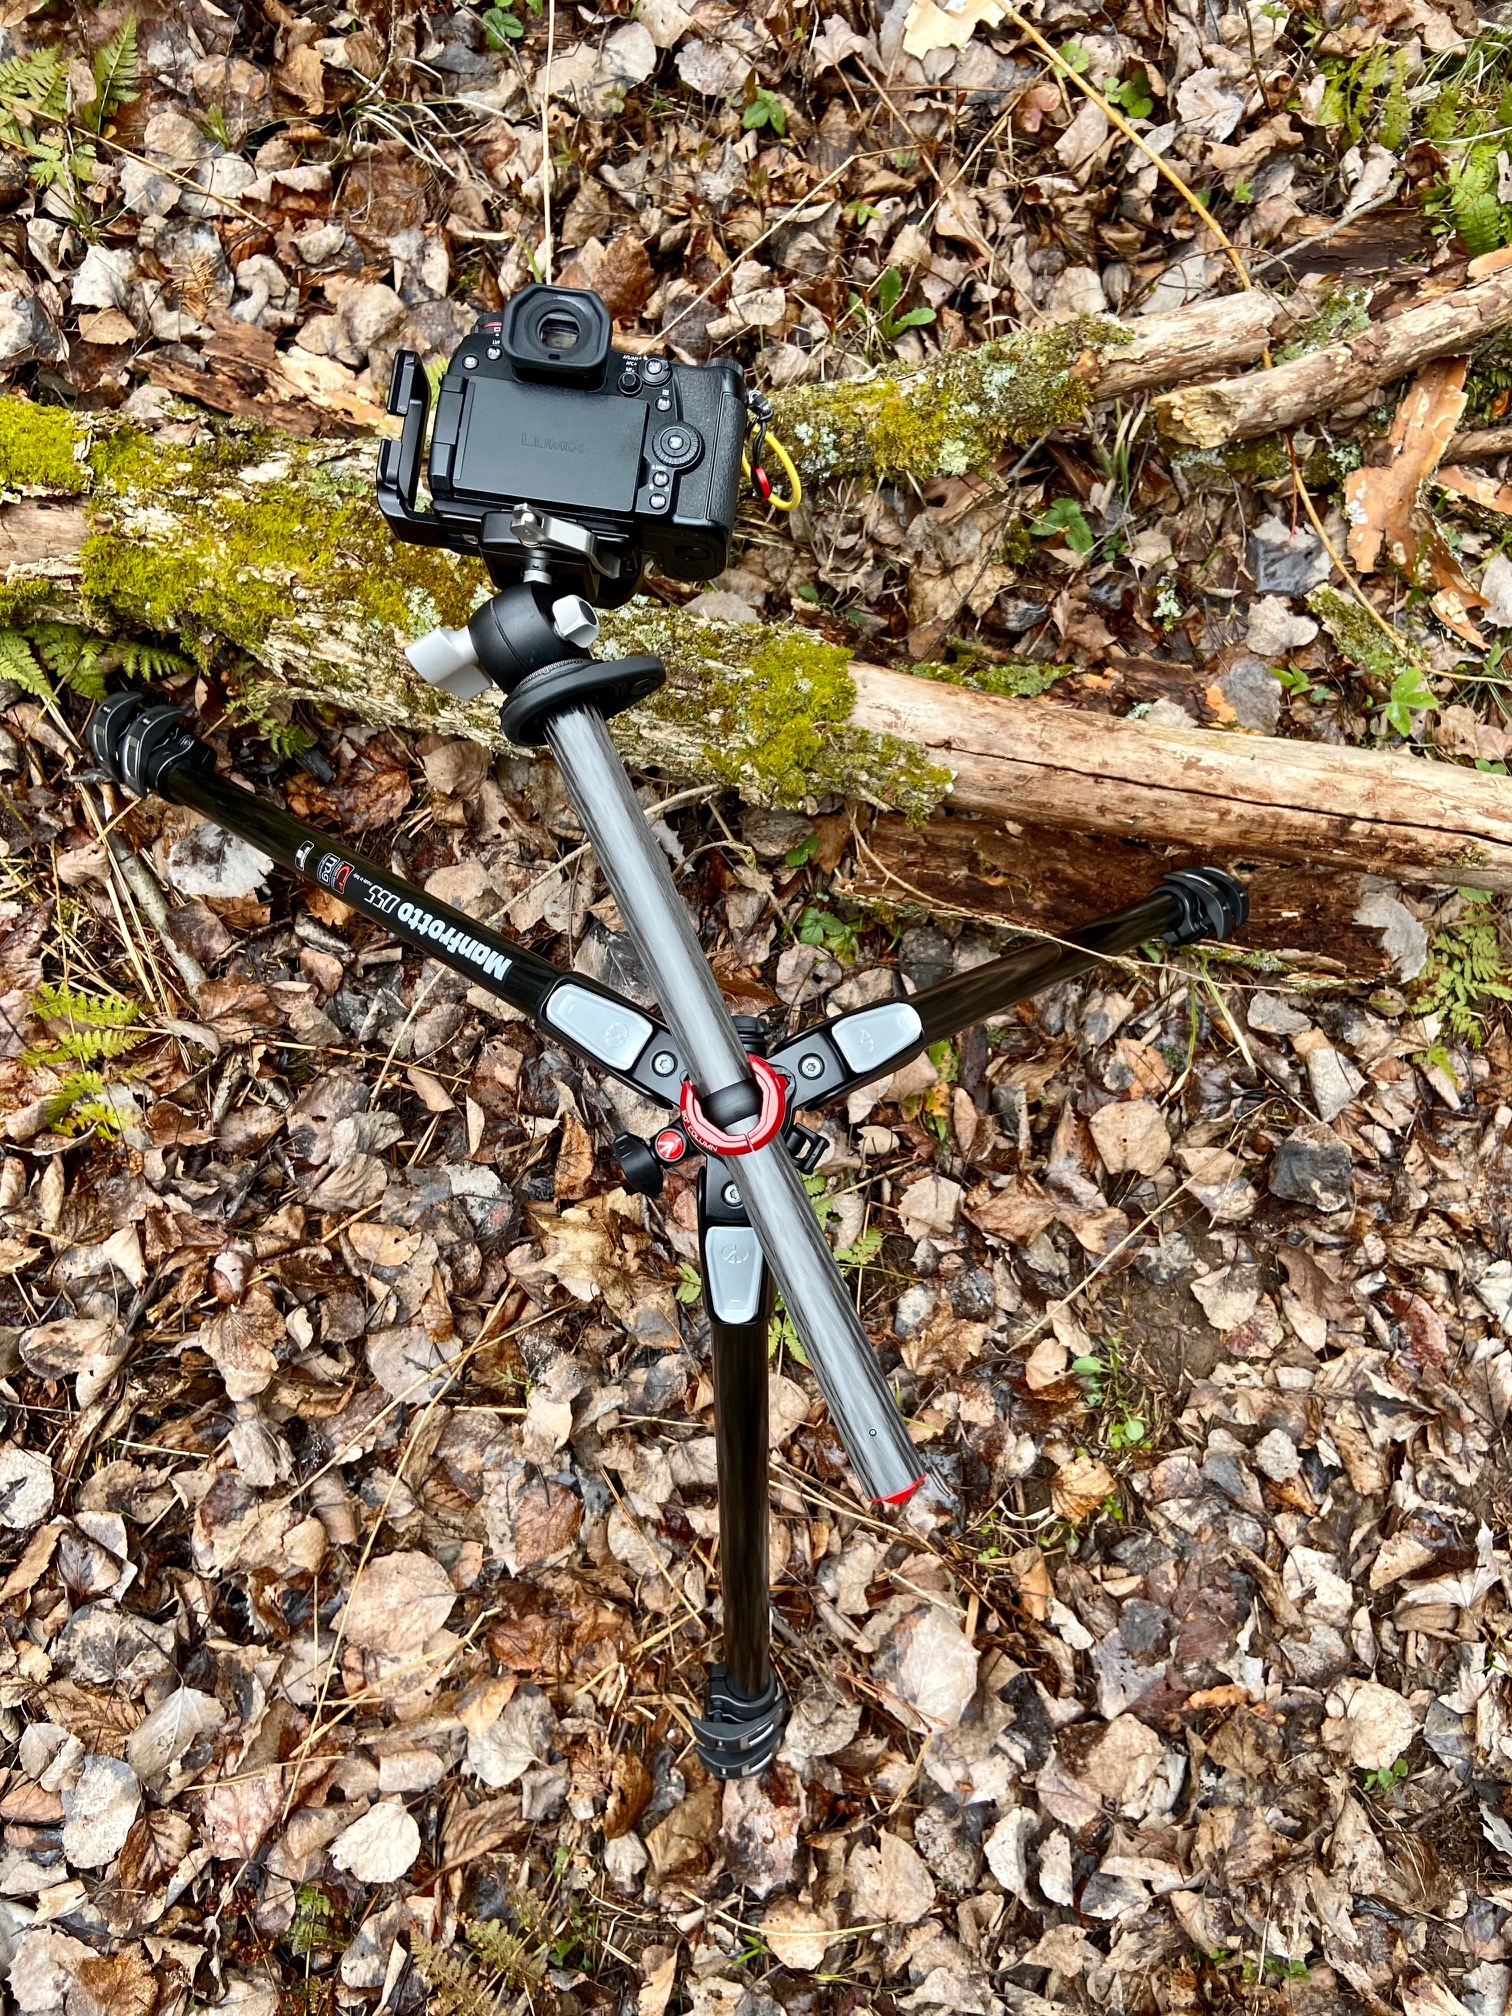
Keep everything still.
This means a tripod or beanbag or other sturdy camera support. Use your electronic shutter if you have it or mirror lock up if you don’t. This will reduce vibration in the camera that can become apparent with extreme close ups. I use a 2-second shutter delay, but a remote release would work as well.

Know focus bracketing methods & when to use them.
For most situations the standard 0/+ will work. This means the focus point you choose first will be the closest focused shot of your sequence. All subsequent shots will be taken at a farther distance from the camera – in other words back into the subject or scene. This is where using a hand lens will help – I’ve had a few do-overs because I didn’t select the closest bit to my lens and had a blurry blob in the middle of my shot. Not pretty.
However, the 0/-/+ method might work better in some situations. With this method the G9 will take the first shot where you’ve selected then take the next closer than that point, the next farther, the next closer, the next farther and so on. I find this a useful technique when you’re not quite sure you’ve selected the closest point to your lens or if your screen limits where you can select and your composition won’t let you change it. This has happened to me when I just couldn’t get the focus point highlighted on my screen, it was too far on the margin. So I focused just behind it and used the 0/-/+ method. Note that you might have to increase the number of photos in the sequence in order to get everything farther back in your scene to be sharp. The 0/-/+ technique takes an equal number of shots forward and back from your main focus point and you may end up with unusable shots in front and not enough in back. No problem to delete ones you don’t need, but aggravating if you don’t have enough to complete your final image.
On the whole I find it’s better to take too many pictures than too few.

Focus bracketing steps and what they mean.
Basically a step is the amount of change from one focus point to another. Think of it as if you were manually turning the focus ring or moving a focusing rail. The distance from one point to another is a step. The depth of focus in each of those steps is determined by your f-stop. The smaller the f-stop, the more depth of field and thus more overlap between shots. The overlap is key – the stacking software is lining up specific elements in each photo, if there are out of focus bits between images, the software has a harder time and you’ll have halos and smears that pretty much ruin a good stack. I recommend experimenting to see what works best. As of this writing I use 3 to 5 steps and apertures around f/5 to f/7.1. This way I get a decent DOF with each step and some good overlap between. Some people stop down for more overlap and they need fewer pictures, a technique they say helps when it’s windy or the light is changing. I haven’t tried this. Instead during windy sessions I’ve manually chosen different focus points using the back screen and taken the shots between breezes. It isn’t as thorough a method as bracketing, but in a pinch it can work.

Speaking of DOF…
Wide open or closed down? Traditionally with single-shot macro photos, it was one extreme or another. Either you wanted smooth, creamy bokeh and out of focus backgrounds or you were cranking the lens down to maximize depth of field. With stacking you can have both, but the look of your background is entirely dependent on what aperture you choose. My best results have come from a wider aperture – somewhere between f4 and f8. The sweet spot for the backgrounds I want. Because I’m using many photos to get crisp detail, I don’t have to close down and my backgrounds can be soft and diffuse. You can even ‘paint in’ the background you want from any of your source images when you set about retouching (more on that later).
If you have a DOF preview function, this is a good time to use it. The way Live View works for me most of the time is to show how the image would look wide open and so sometimes when I take the shot I’m surprised how crisp the background is.

How many photos do you need?
Well that depends. Mostly on how big your subject is and how much detail it contains, but also your aperture and the number of steps between shots. You’ll probably need to experiment as I did. At first I used sets of 10 or 20 images give or take a few, but now I tend to do at least 30. If you examine the first shot and the last in the field you can be sure you got what you needed. Sometimes I take many and end up using just a few from each sequence, but that’s not a heartbreaker like not having enough is.
How do I know which shots are in which stack sequence?
In playback mode, the G9 groups Focus Bracketed images together with a label showing how many you took. So the software knows the situation, but when I bring them into Lightroom there’s no designation at all. They’re no longer grouped or marked in any way that they belong to a Focus Bracket group. And they don’t group exposure or aperture bracketed shots at all. Weird. Weird. Weird. Attention camera manufacturers – please give us a way of noting photos in a bracketing sequence straight from the camera. Otherwise we all end up taking pictures of our hands to separate them. That is all.
Wow that was more than I thought I’d have when I first started typing. And it’s only things that apply in the field. Processing is up in Part 2.

